After
our trip to Cedar Point, my naked nails were dying for some love and affection. I decided to try something new this time. Homemade nail decals!

Whenever I do my nails, I reuse the same few pieces of plastic as makeshift paint palettes to dip my brushes and sponges. Over time the small pools of polish pop off with such ease, I knew I could totally make use of it.
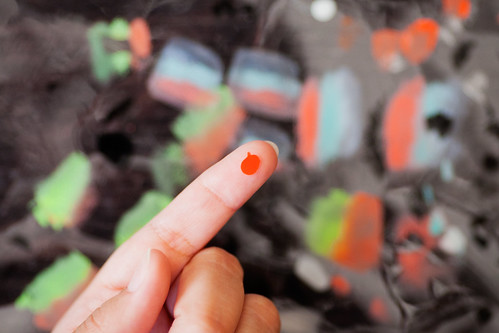
After some googling, it seems I'm not the only one who knows about this great trick. Everyone's directions vary a bit, most paint large areas and use scrapbook punches, but I found that painting the designs directly onto a sandwich bag was exactly what I was going for
and the most fun. I went to town!
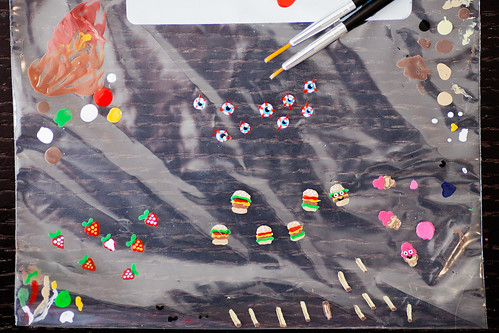
Let the artwork dry overnight, otherwise there will be no give when trying to peel the designs off. Make sure you fold the sandwich bag, starting closest to the edge of design and slowly roll the bag back between your fingers. It works like a charm.

I painted my base coat and background design and let them dry fully. Using a tooth pick dipped in a tiny bit of clear polish, I added as many burgers, french fries and eyeballs as I could fit onto each nail. A couple of top coats later and...

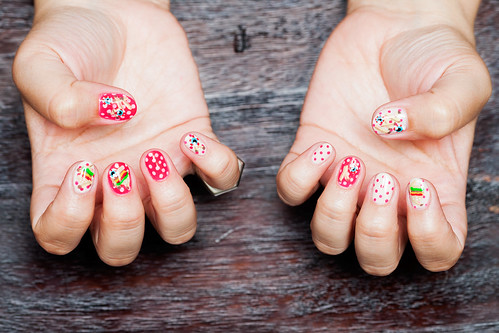
My thumb and pinky are my favorite. Fries, eyes and polka dots, all day, every day!

The colors used for the background are ORLY in
Naked Ivory and China Glaze in
Rose Among Thorns (Neon). I recommend you give this a go, it's super fun and helps rid you of you your non-dominant hand's shameful work! Well, at least it did for me!